Marketing Agency Pro wordpress theme Documentation

Introduction

We appreciate you purchasing our WordPress theme. This article demonstrates several steps of the full configuration and management process for a WordPress website.

What is WordPress CMS?

WordPress is an open source website creation tool that uses PHP and MySQL as its foundation. It is a robust blogging platform and a totally free content management system (CMS). Using this CMS, you may create reliable online applications and websites. To manage it, you scarcely need any technological expertise or understanding. Because of its many benefits, including ease of use and flexibility, WordPress has emerged as the most popular website construction tool on the market.Learn More

What is a WordPress template

A WordPress template serves as the skin for websites built using the WordPress content management system. A WordPress template is incredibly simple to setup. You may quickly modify the appearance of your WordPress website by installing a new template. A WordPress template comes with all the necessary source files, and you are free to change and expand it however you see fit.

Help and Support

For assistance and support, click here:

Files structure

The template bundle that you downloaded is divided into various directories. Let's examine the contents of each folder:

  • Screenshots : contains screenshots of templates. Not for manufacturing.

  • Theme : files for the WordPress themes.

  • Marketing Agency Pro.zip: All of the files required for the theme are contained in this folder.

  • license.txt : details of the licence.

  • readme.txt : contain details on the theme's image paths and font usage instructions.

Template Installation

The process of installing a template is very straightforward and easy.

Step 1. Theme Installation

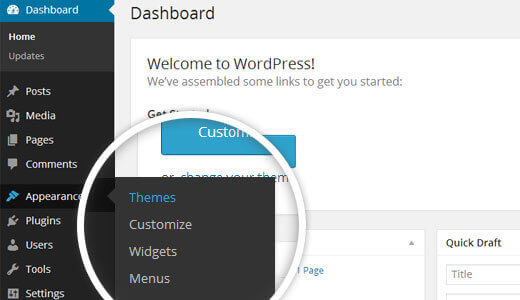
First, log in to your WordPress admin dashboard.

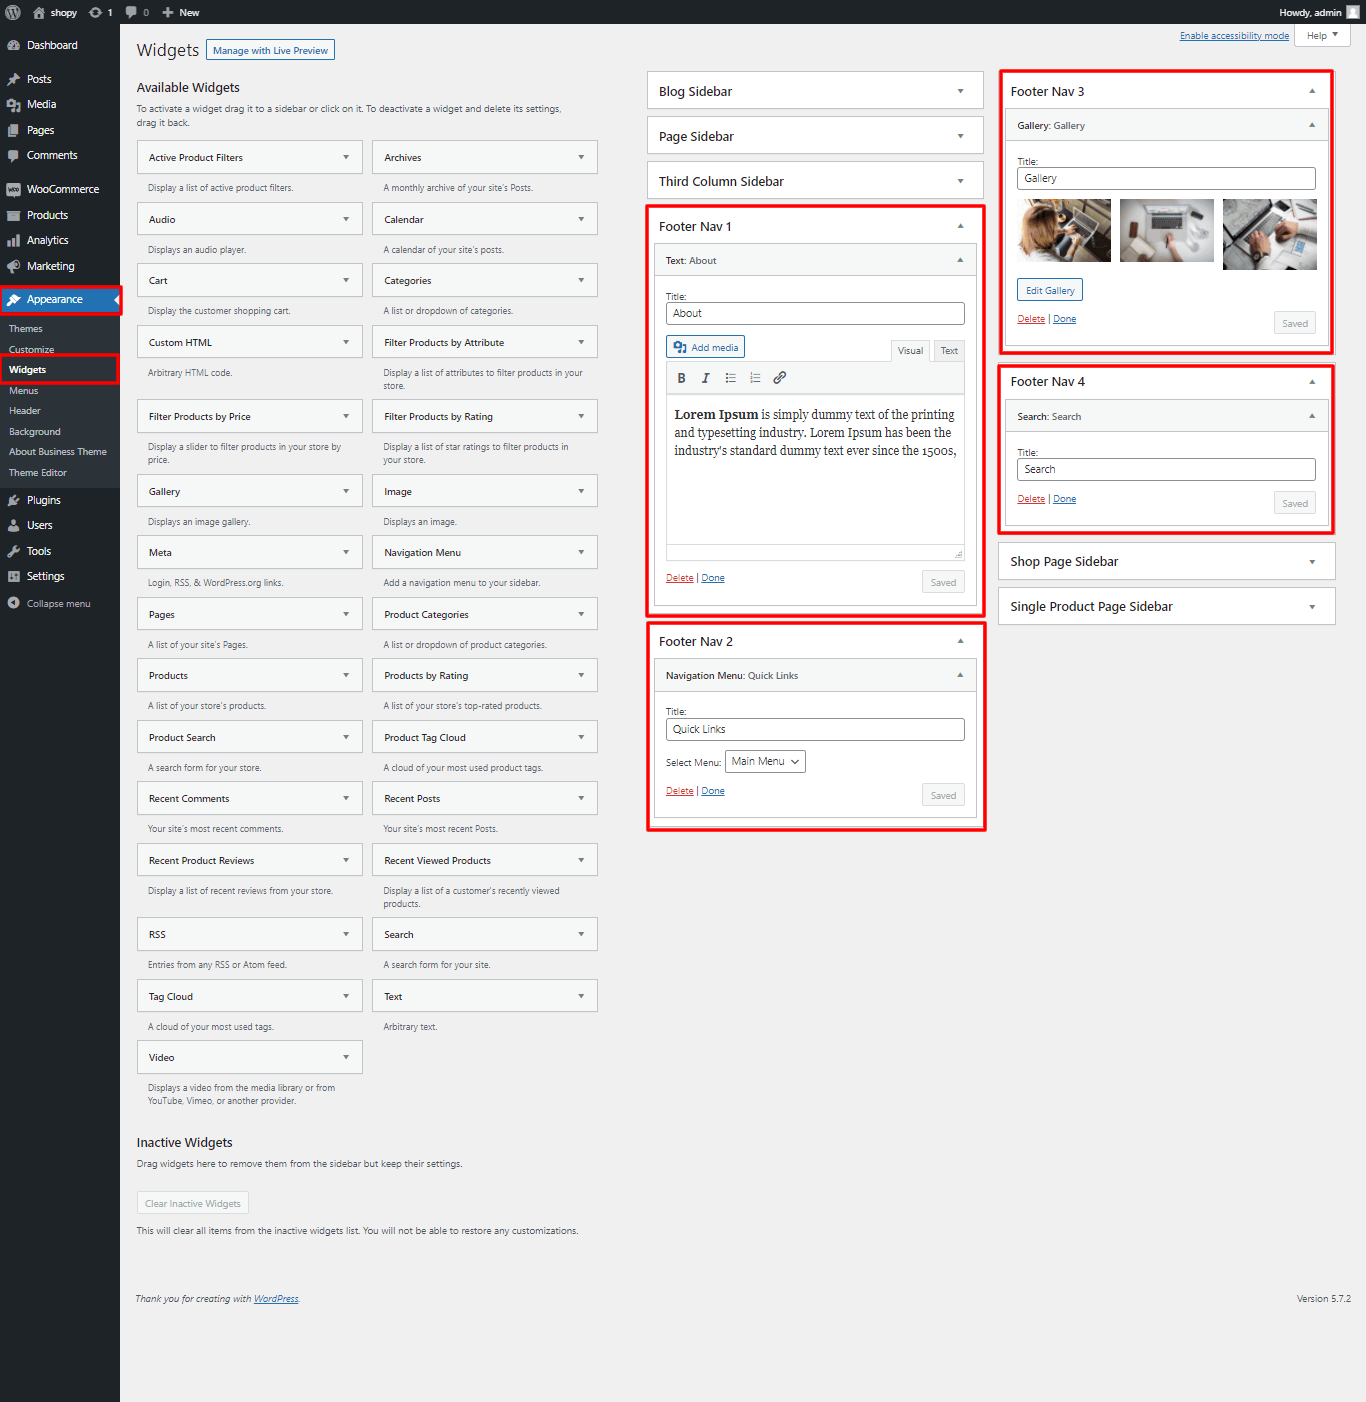
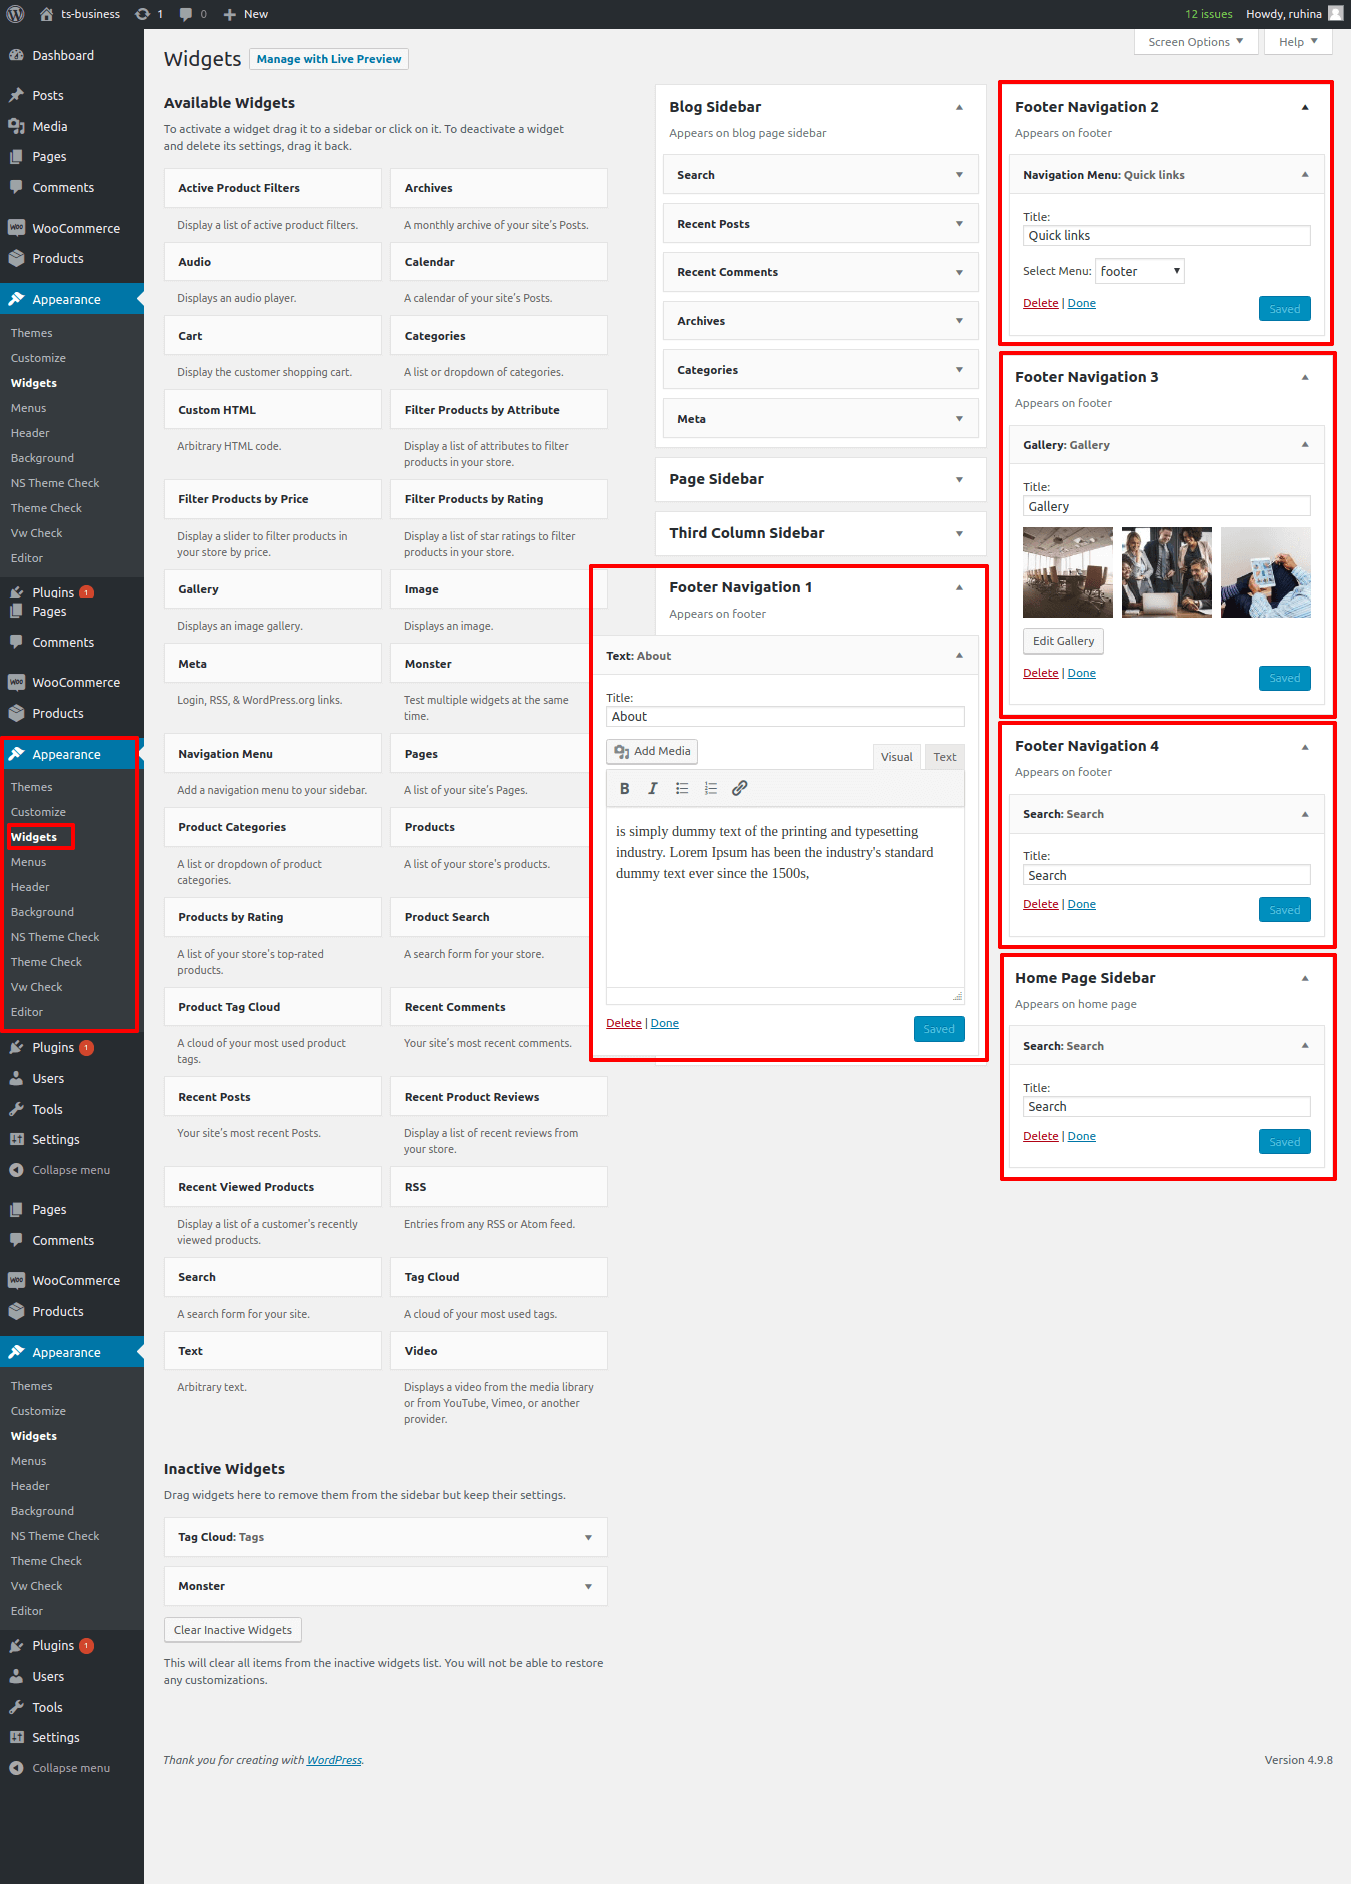
Next, navigate to the "Appearance" menu and select "Themes."

images/themeinstall1.jpg

Use the Upload Method in the WordPress Admin to install a theme.

Only free themes found in the WordPress.org theme directory can be installed using the first technique we discussed. What happens, though, if you want to install a "premium" WordPress theme from a commercial source like ThemeLab, StudioPress, iThemes, etc. How about installing a custom theme, though? In this instance, you would need to upload the theme from your WordPress admin and then install it.

Start by downloading the theme's.zip file that you bought from a marketplace or a third-party theme vendor.

Then, after logging in to your WordPress admin area, click

Appearance >> Themes.

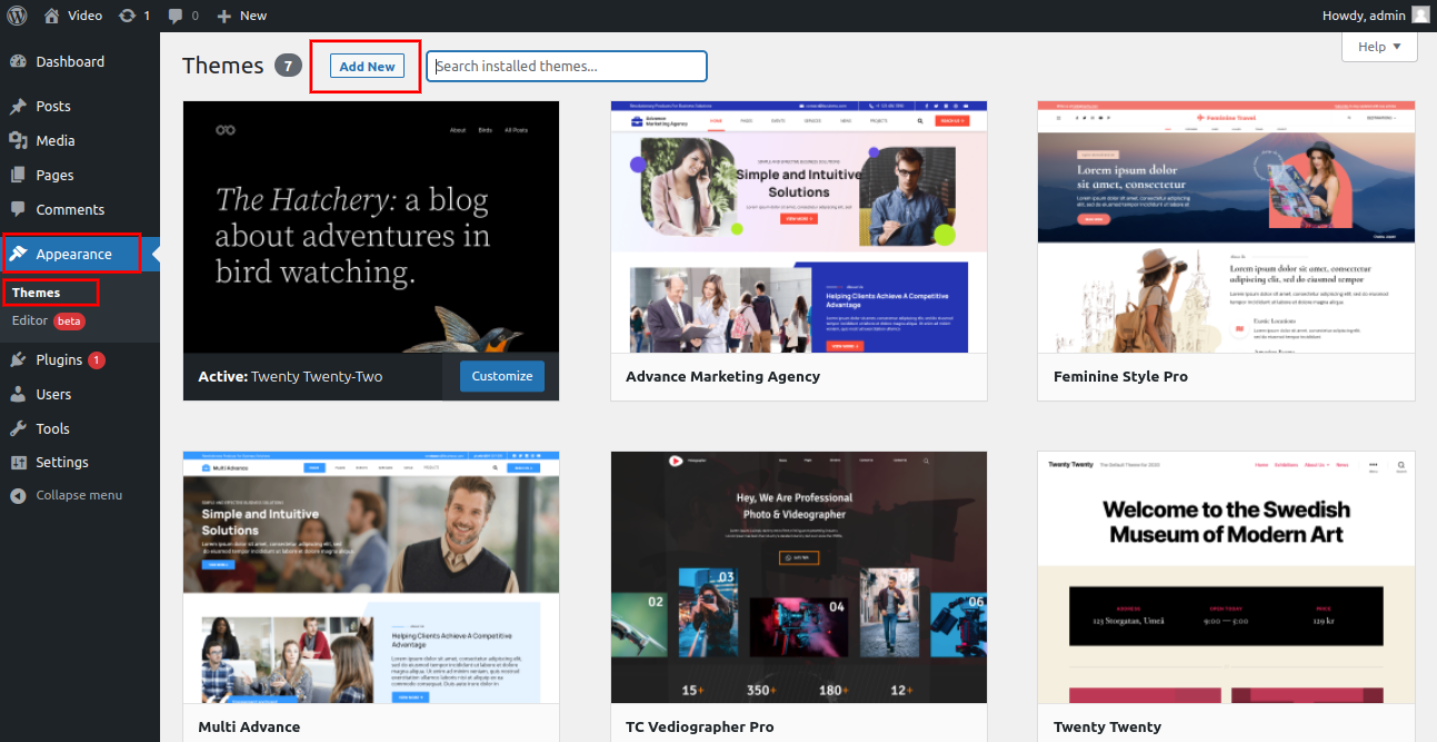
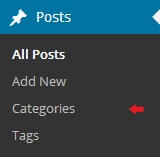
Once you are on the themes page, click on the "Add New" button located at the top of the page.

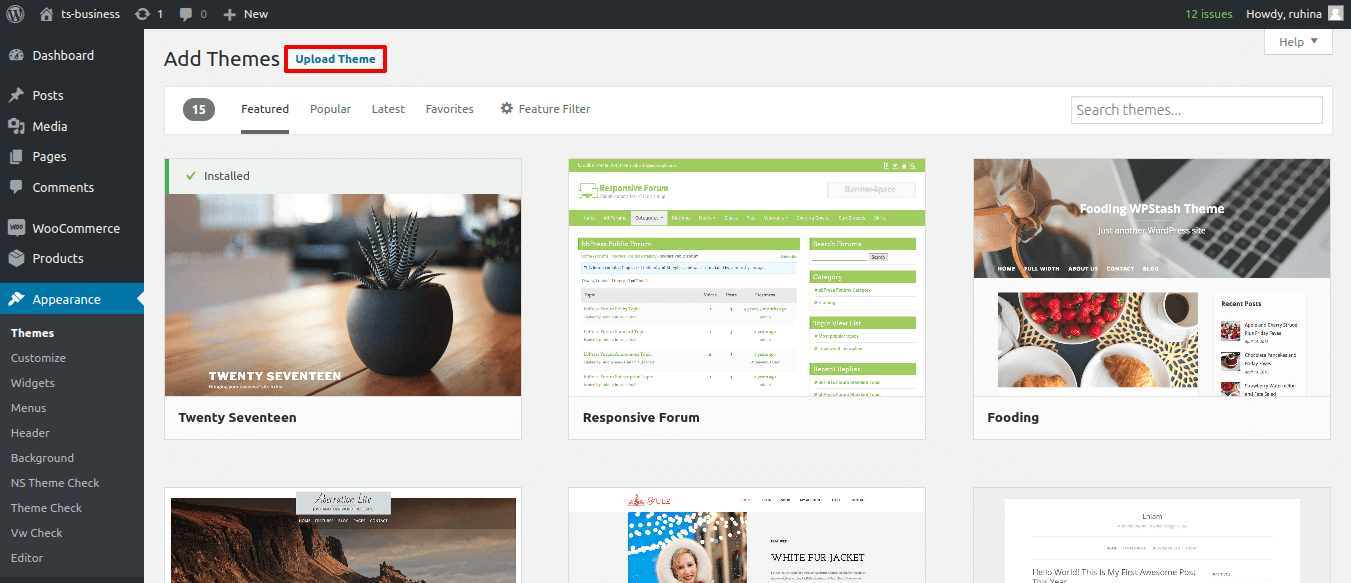
On the following screen, click the Upload Theme button at the top.

When prompted, select the zip file that you already downloaded. Click Install Now after selecting the file.

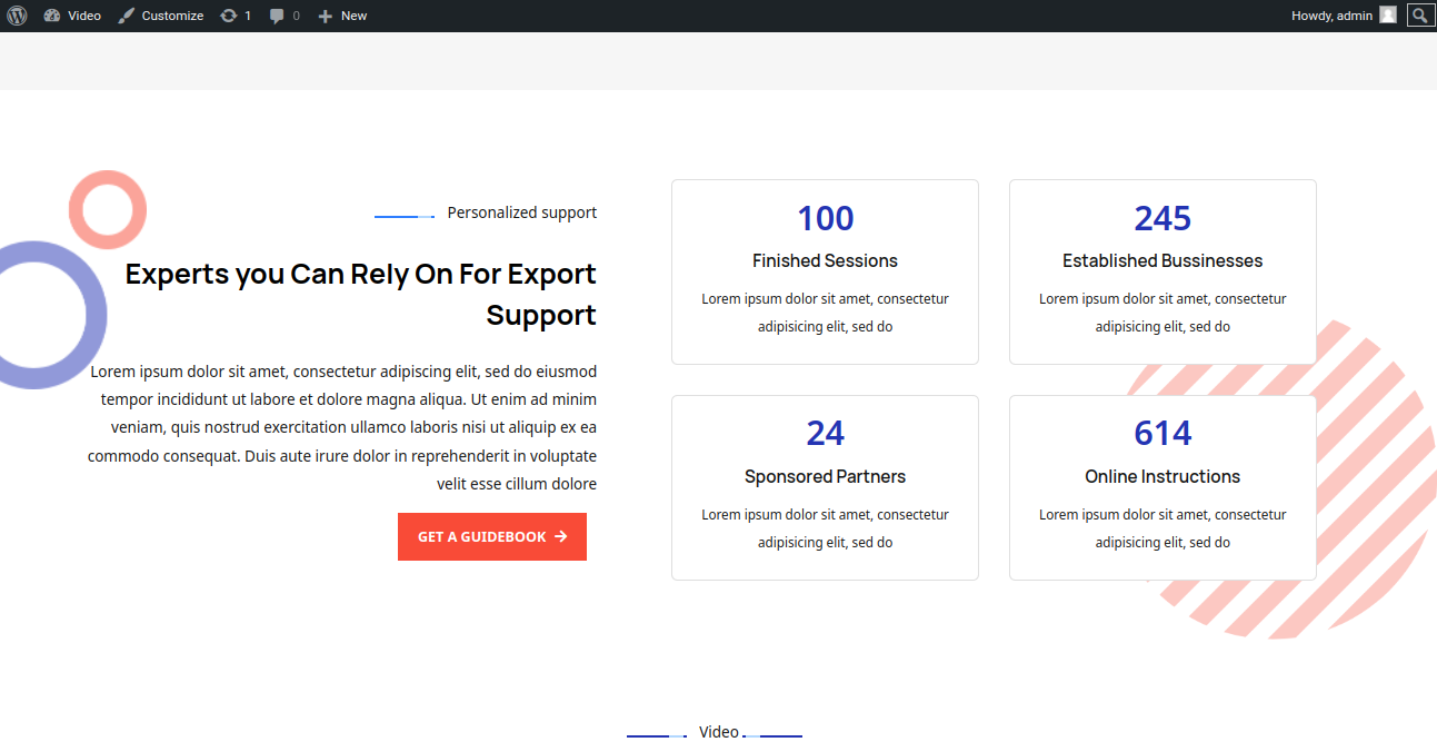
A success message and a link to activate and preview the theme will appear once your theme has been installed.


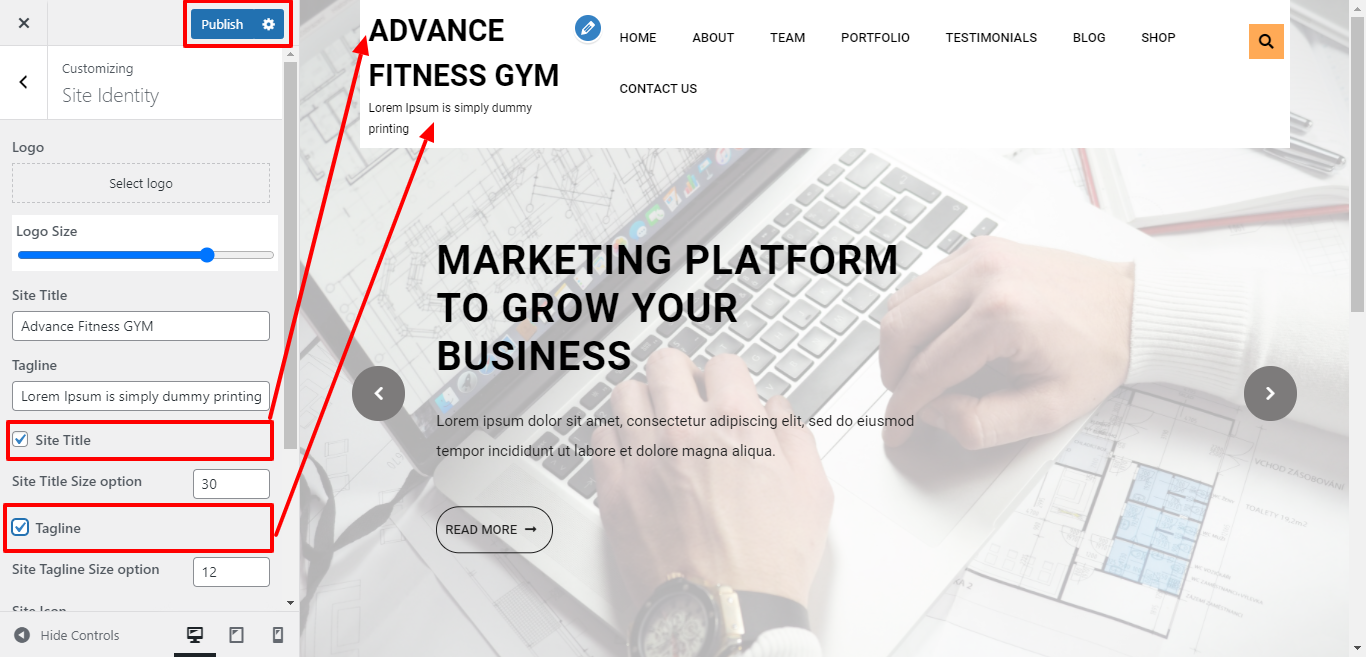
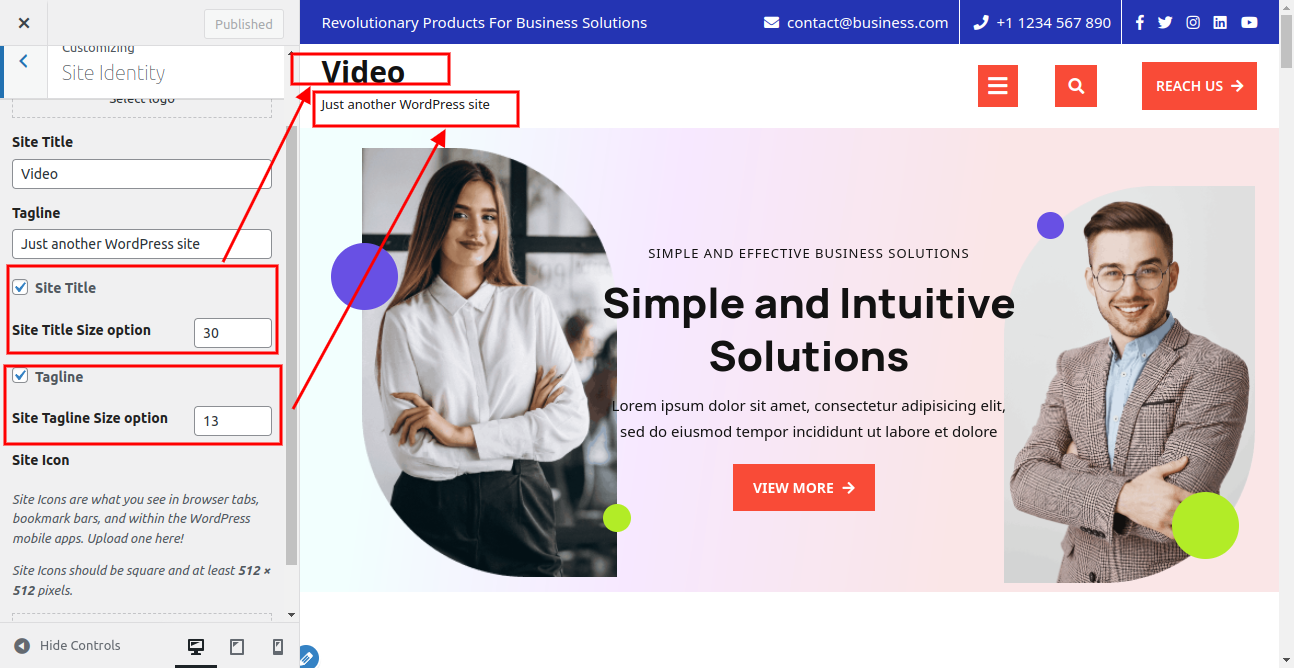
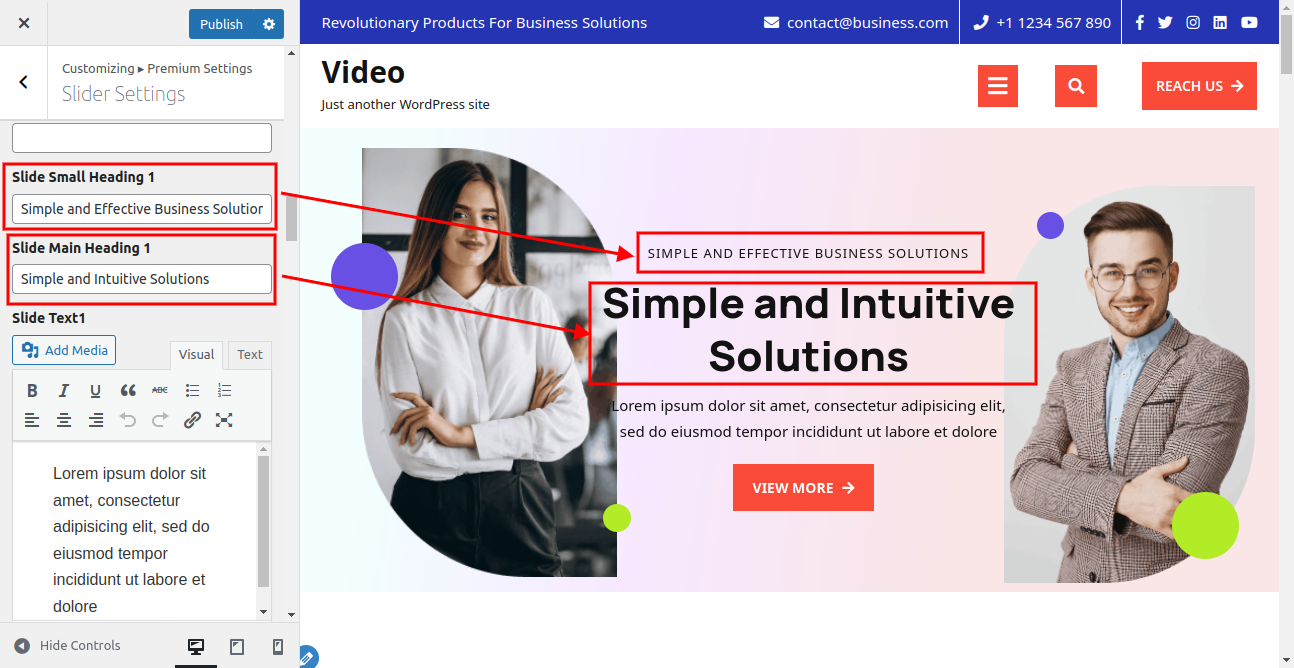
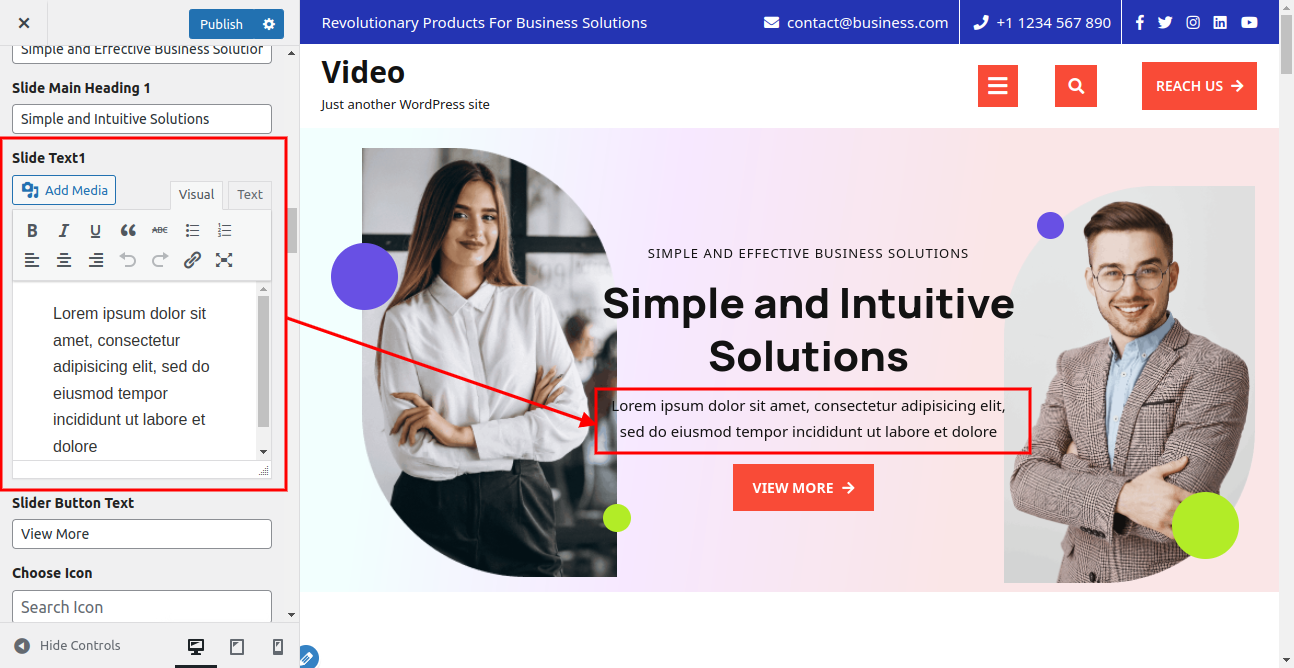
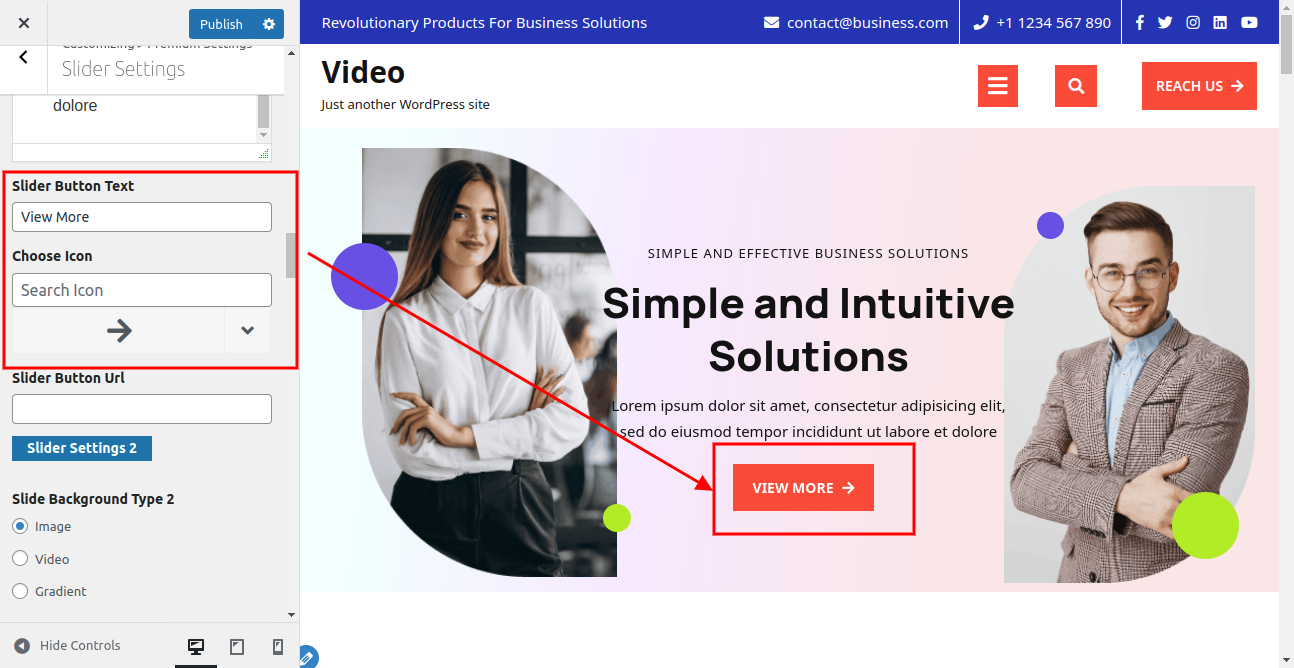
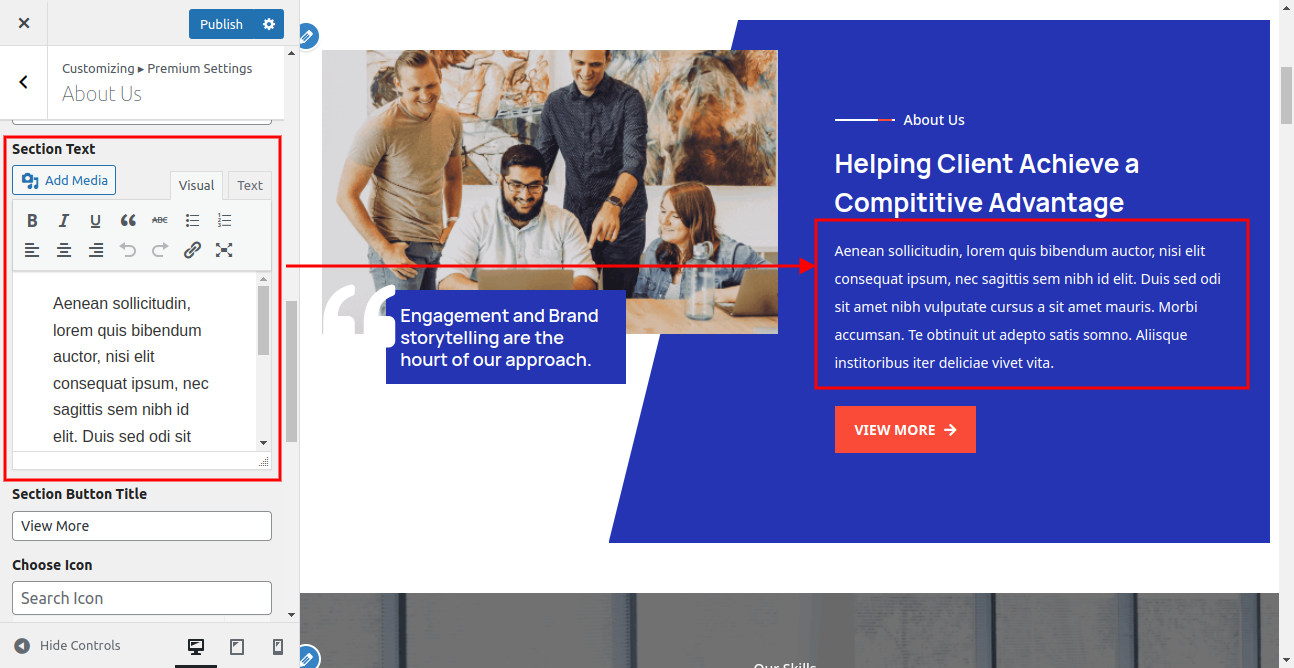
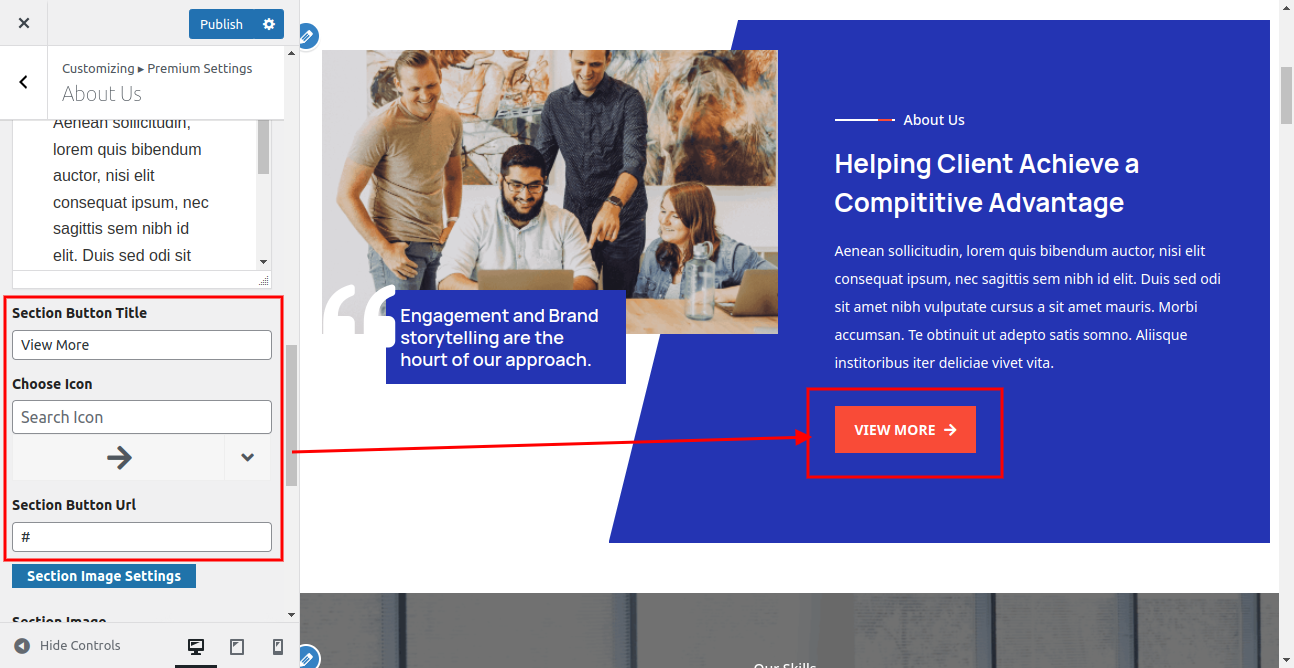
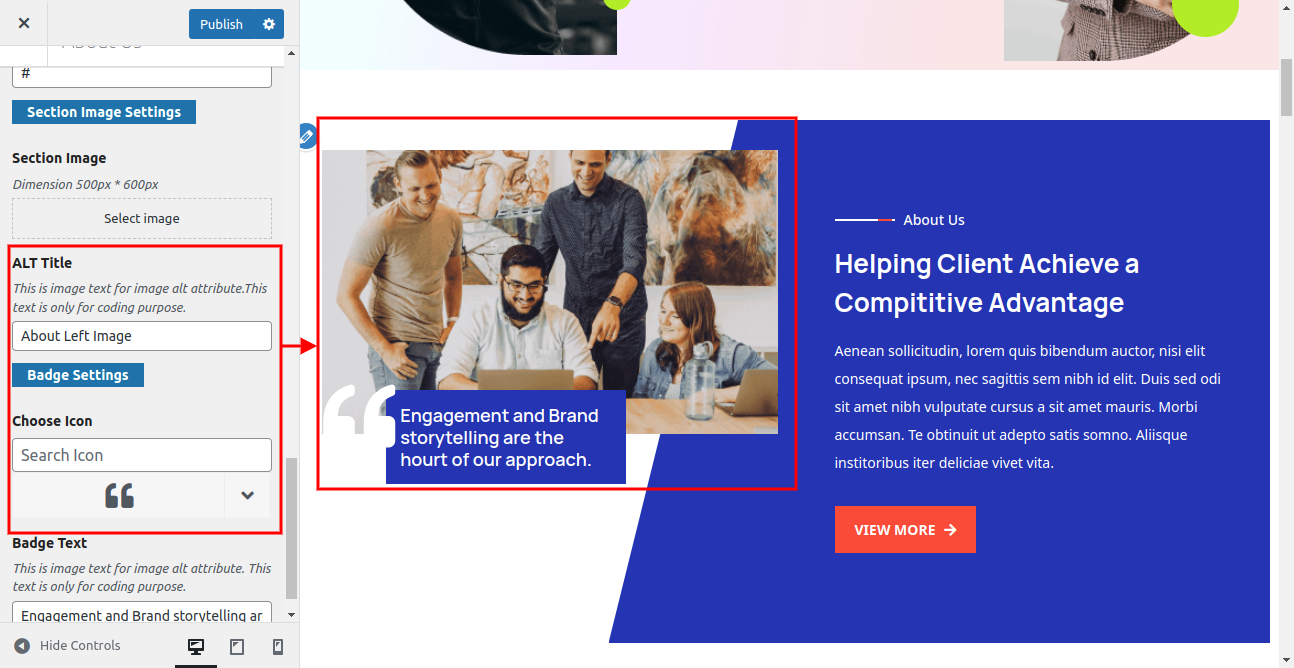
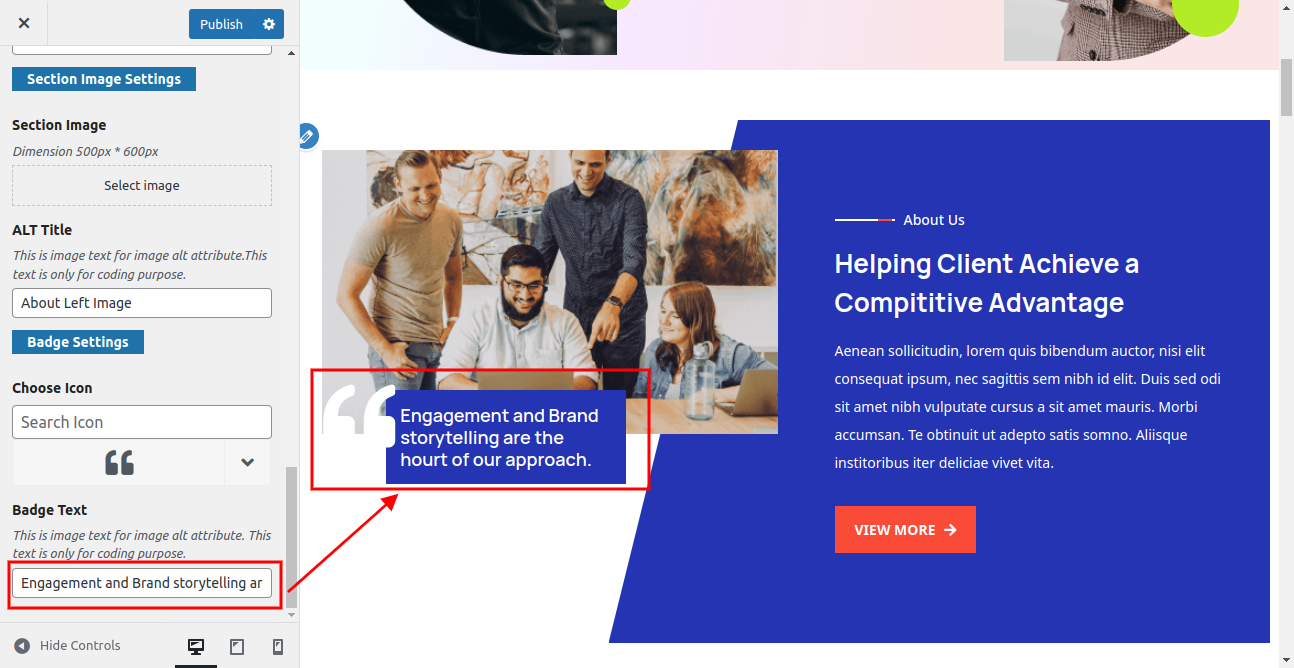
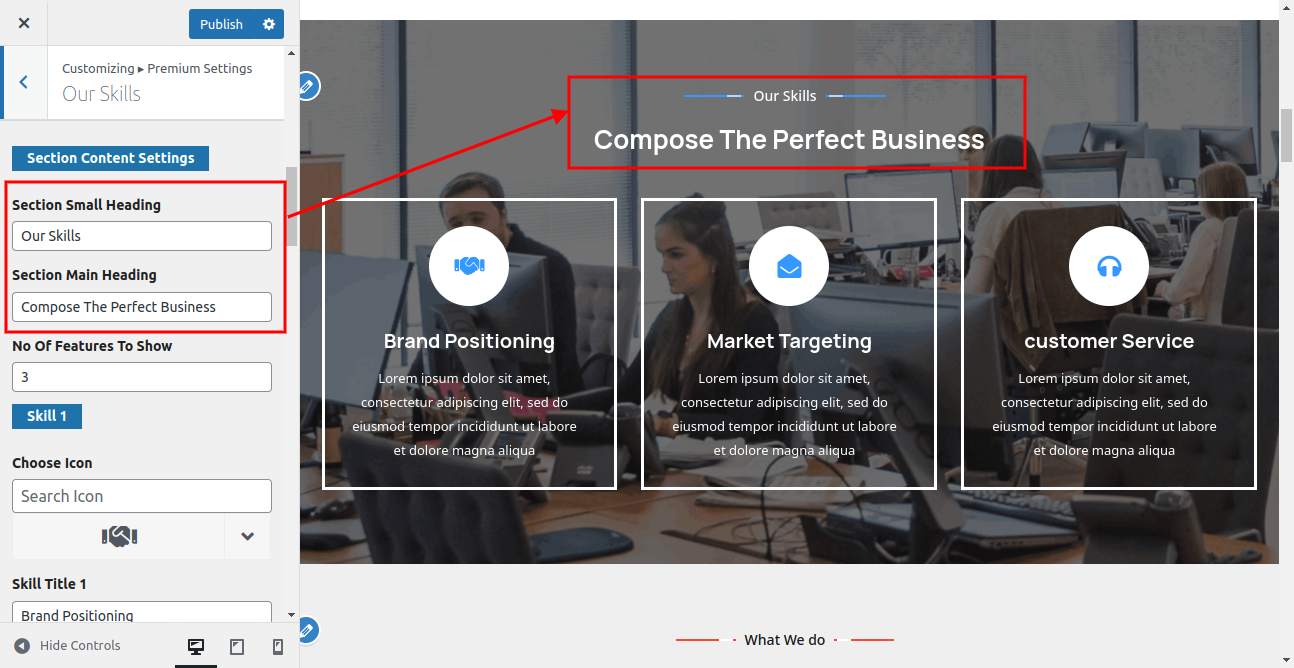
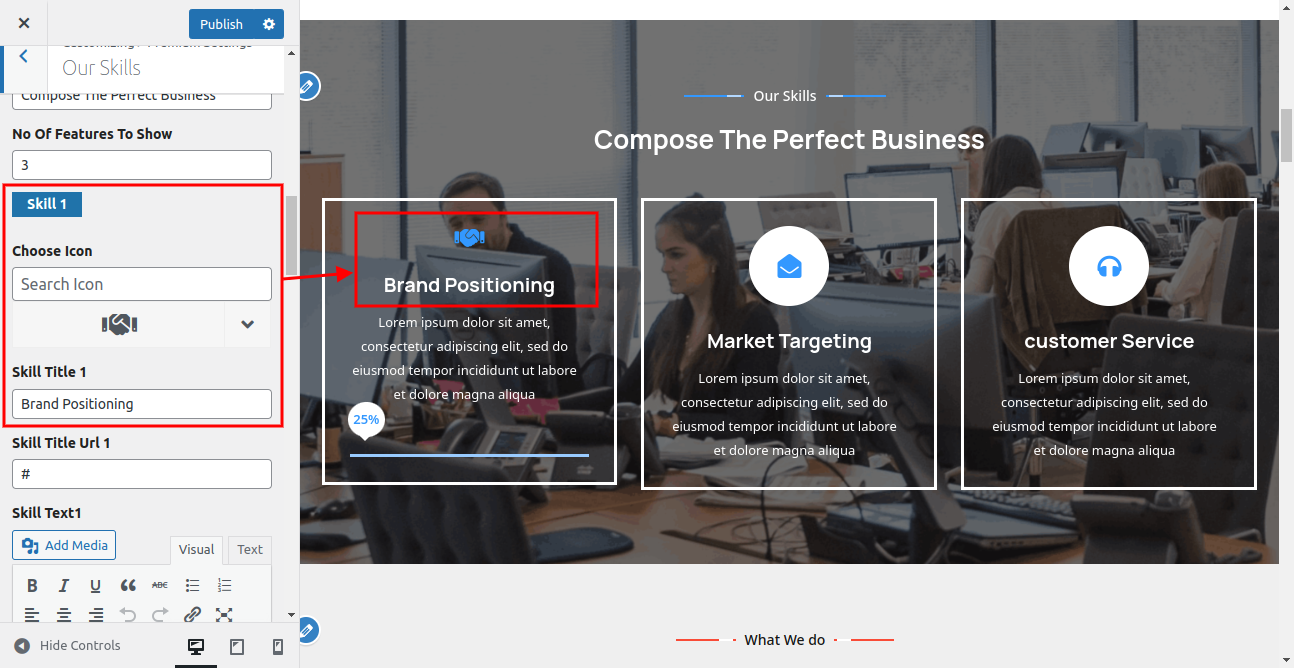
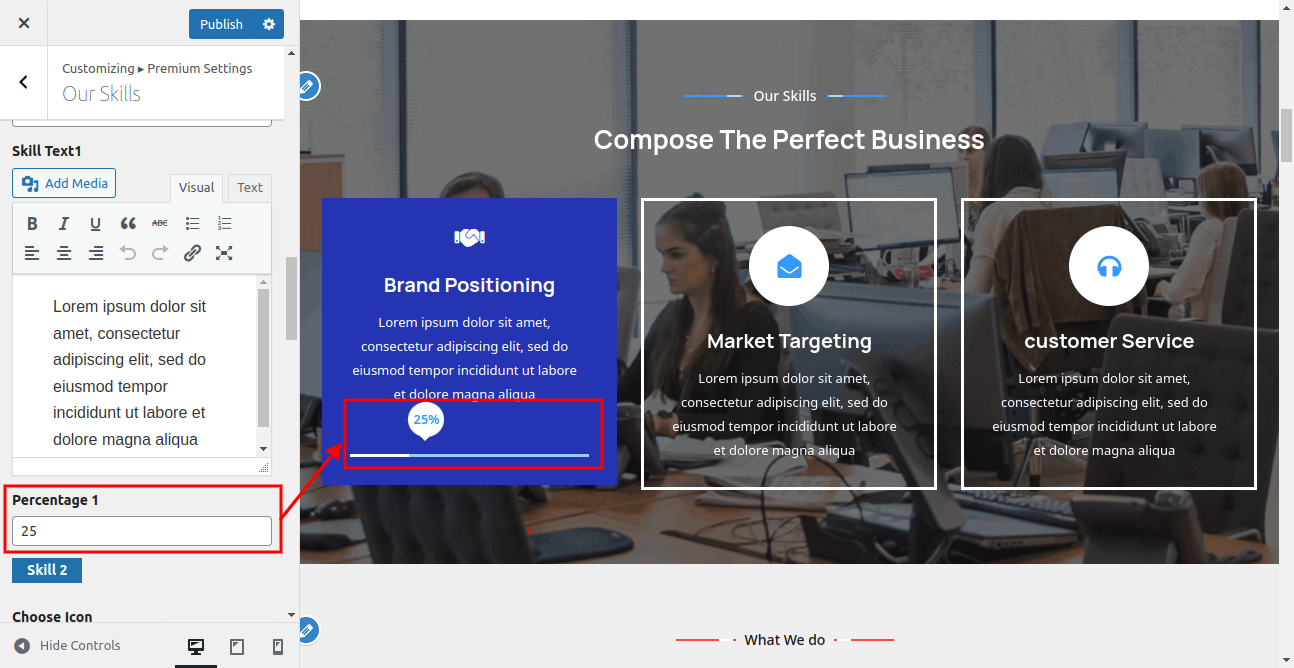
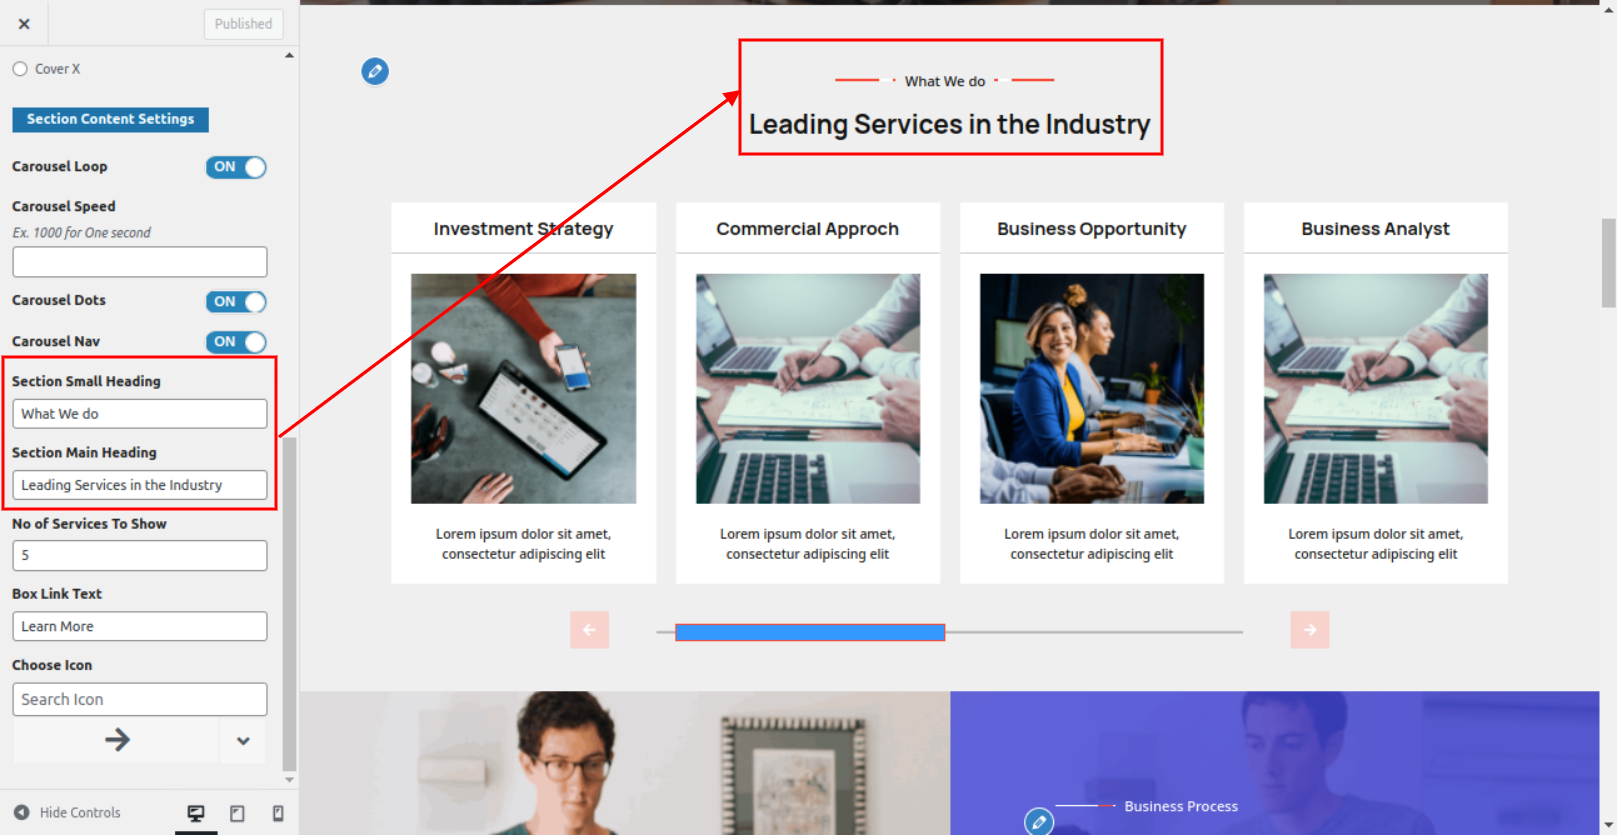
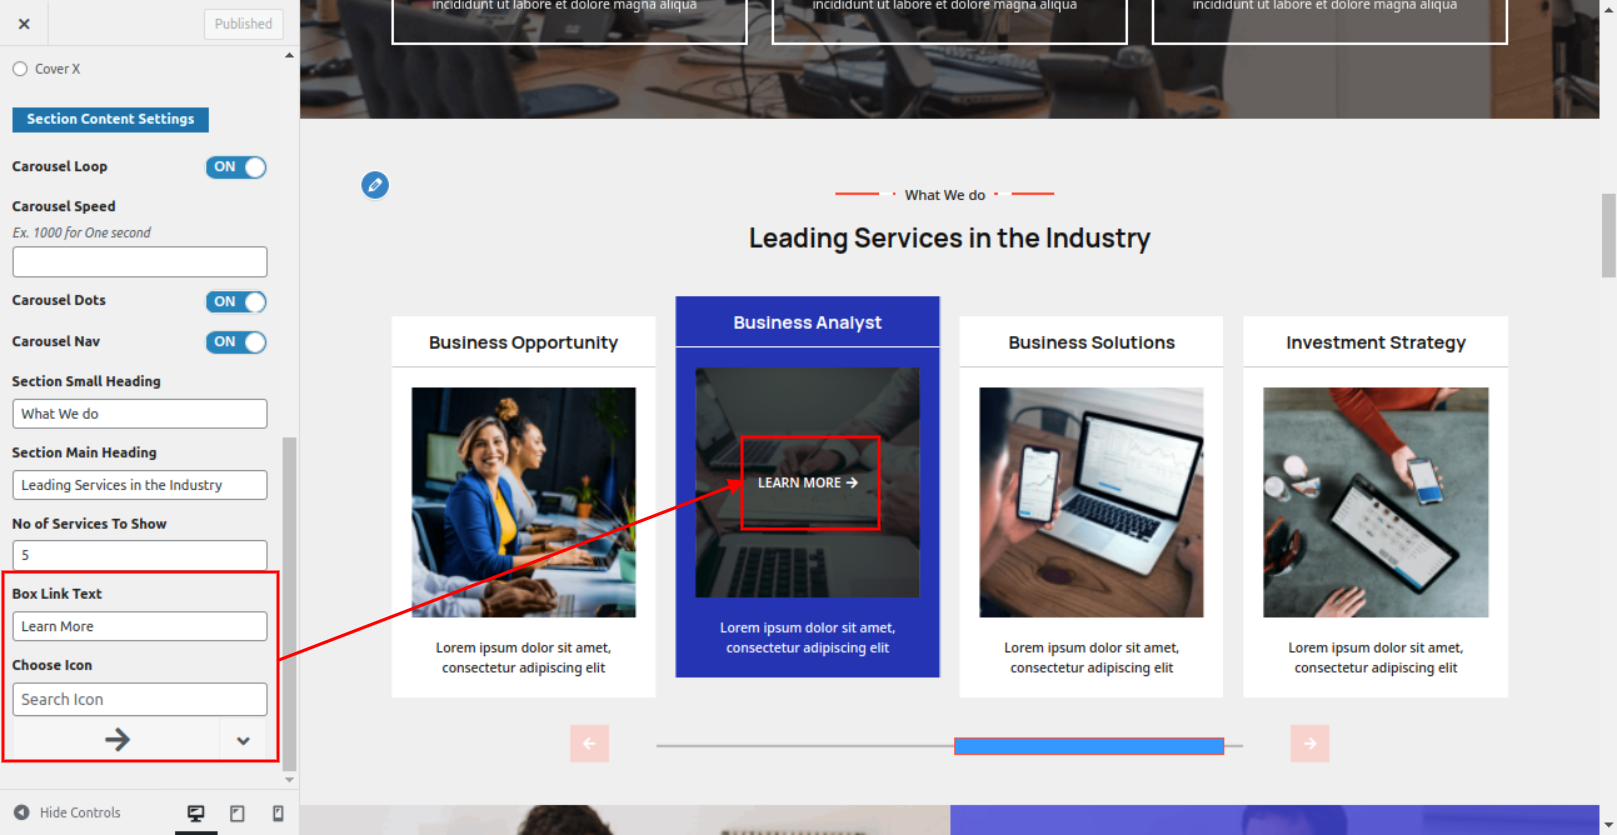
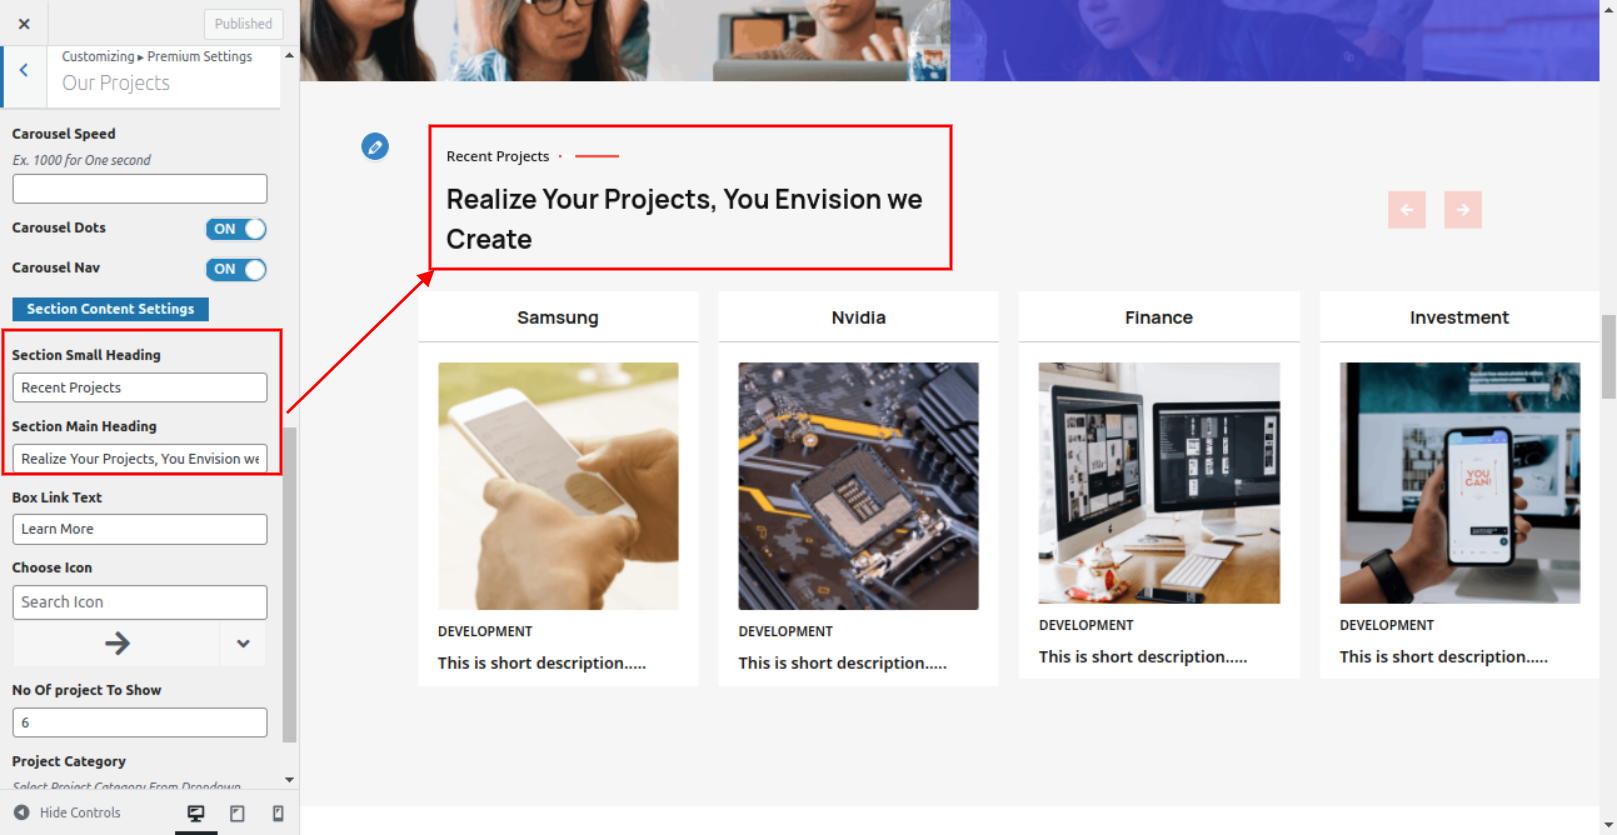
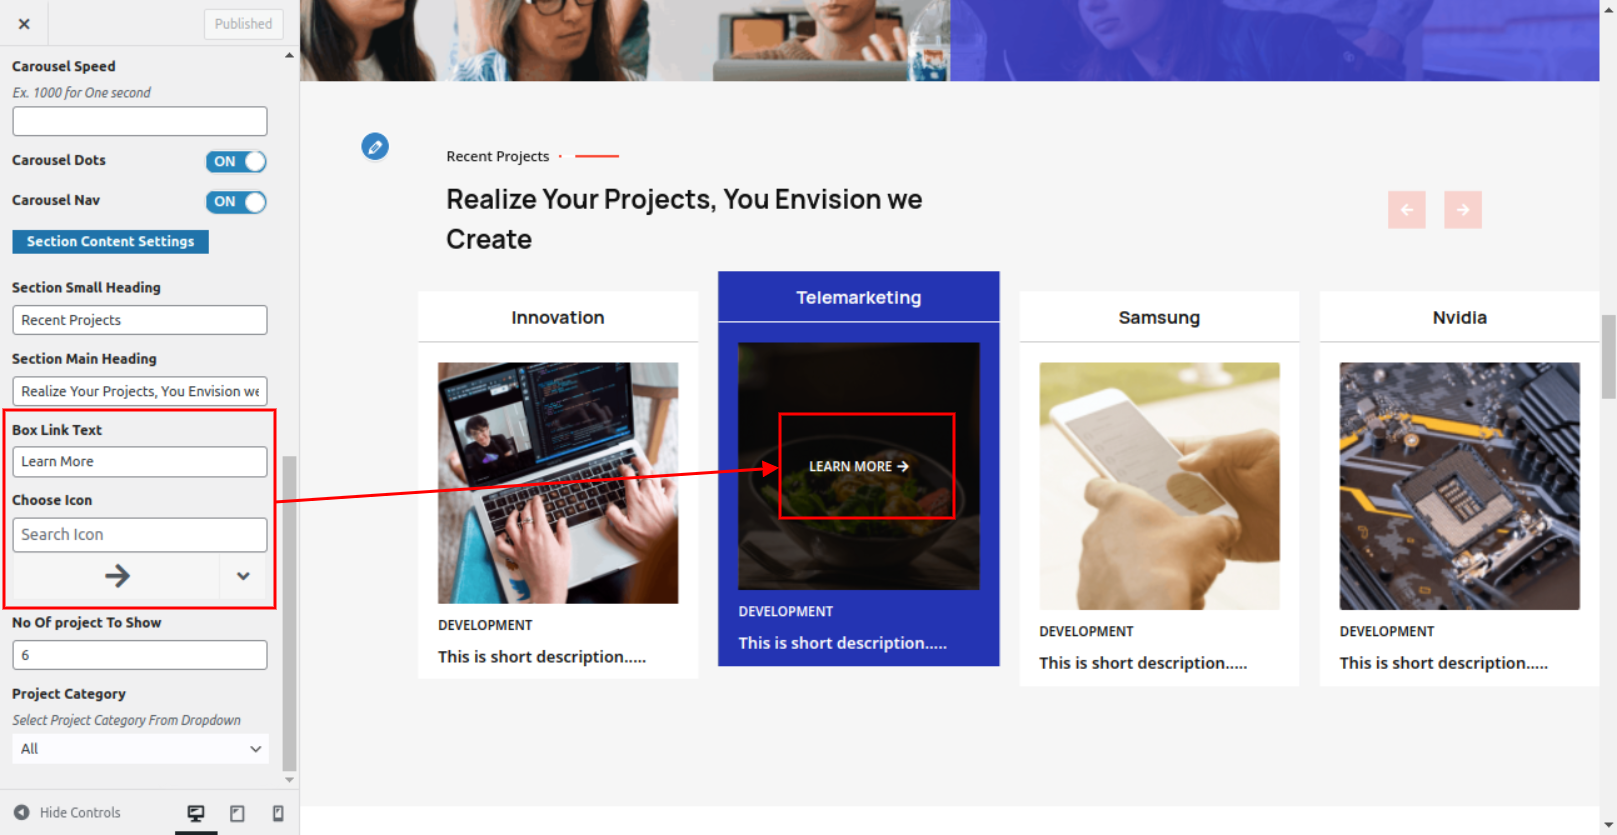
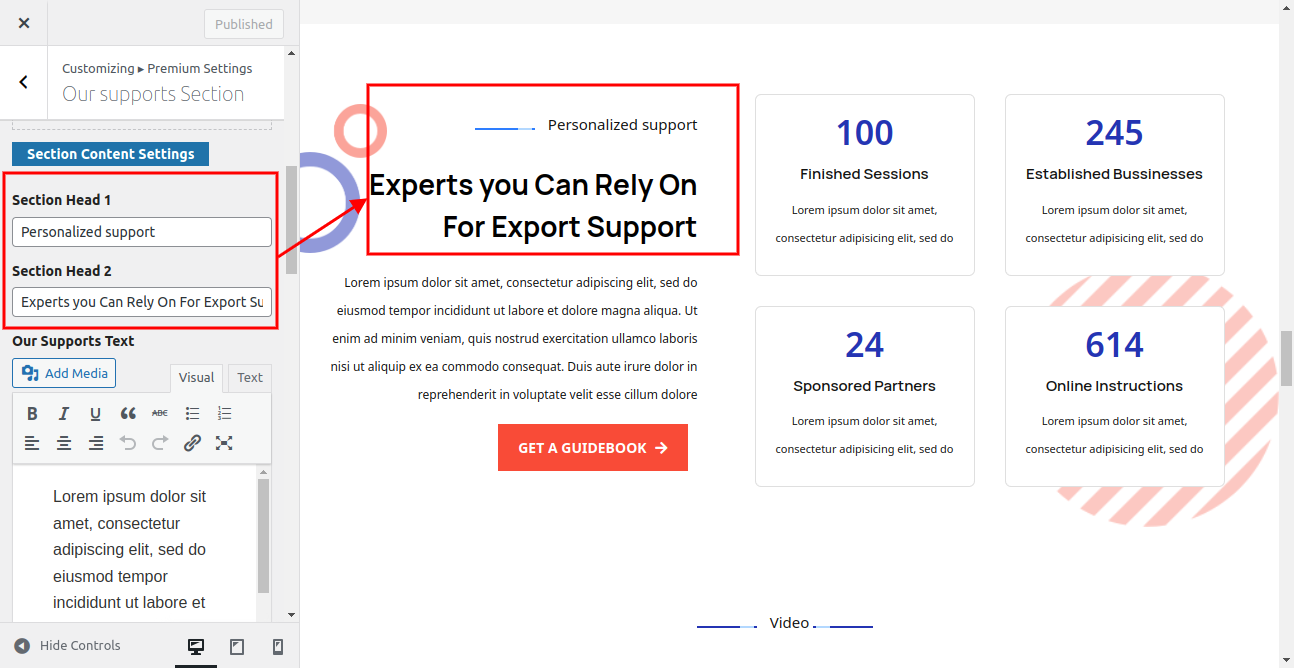
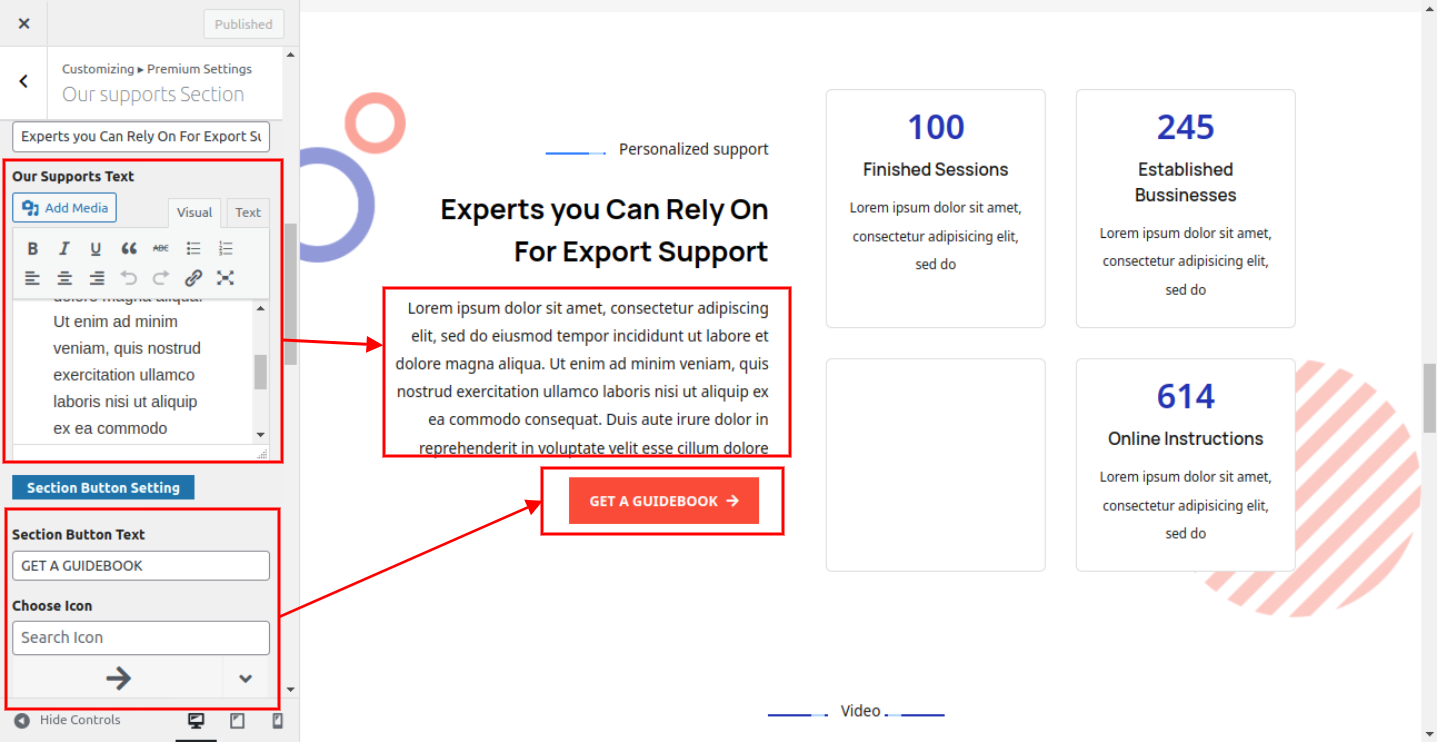
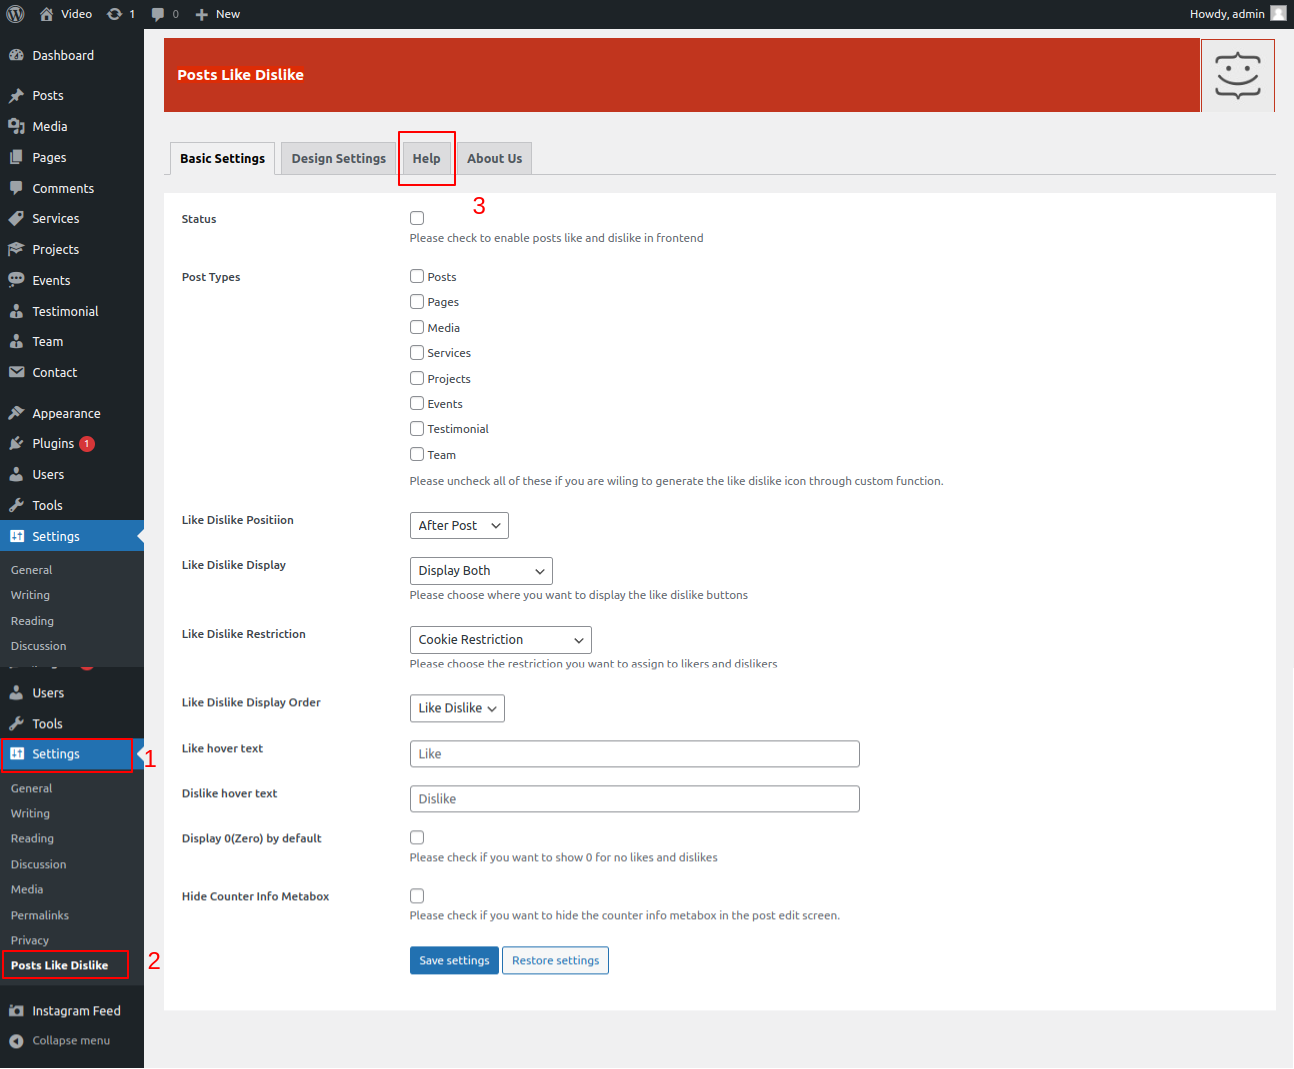
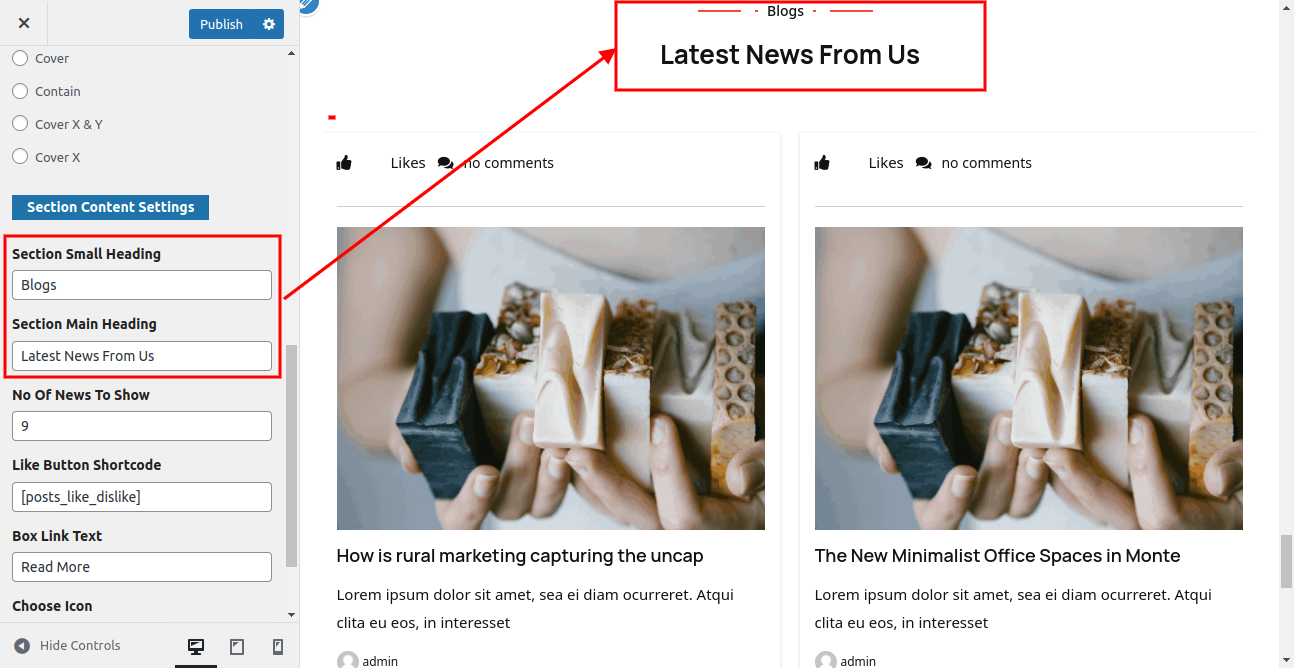
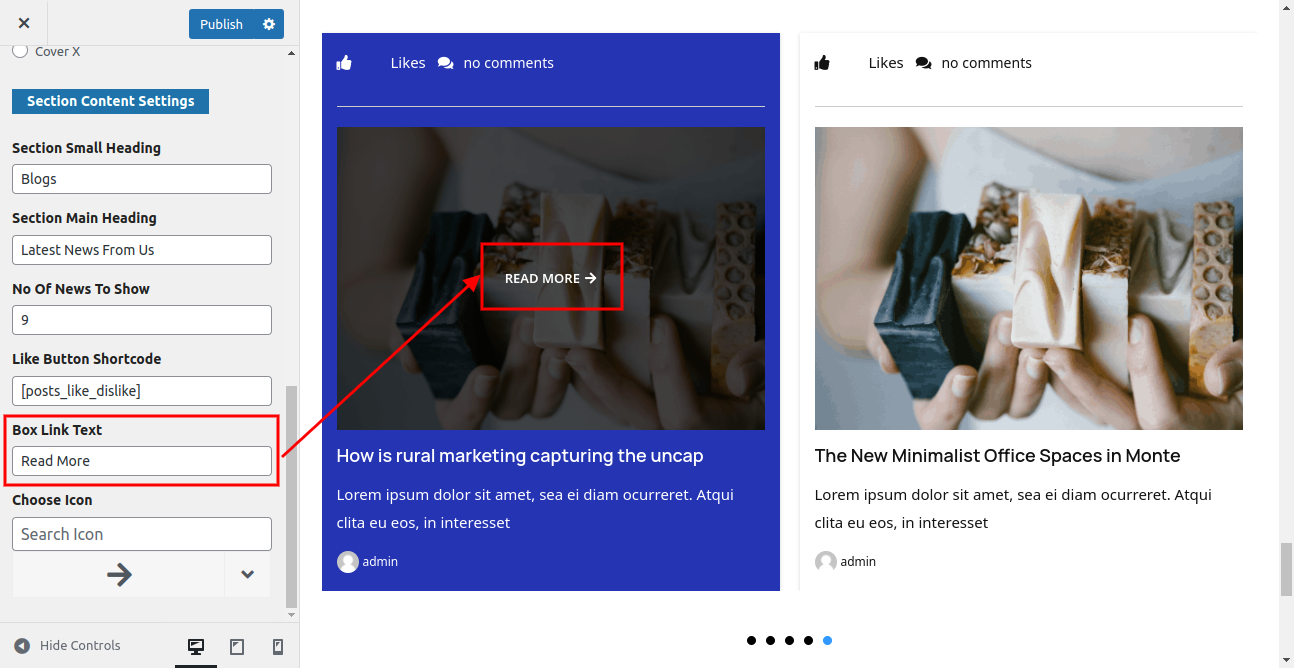
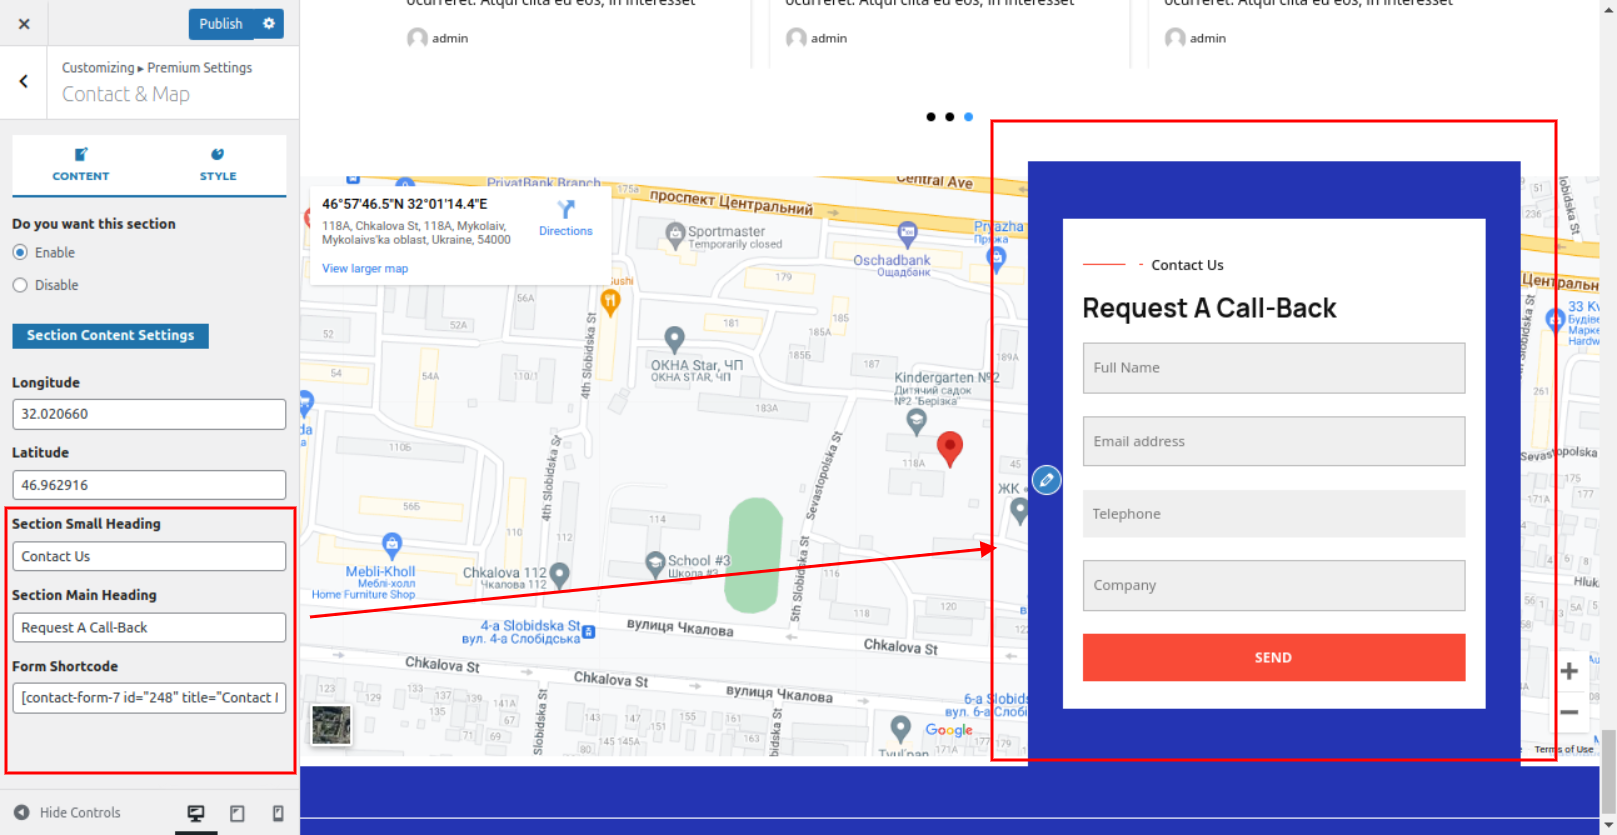
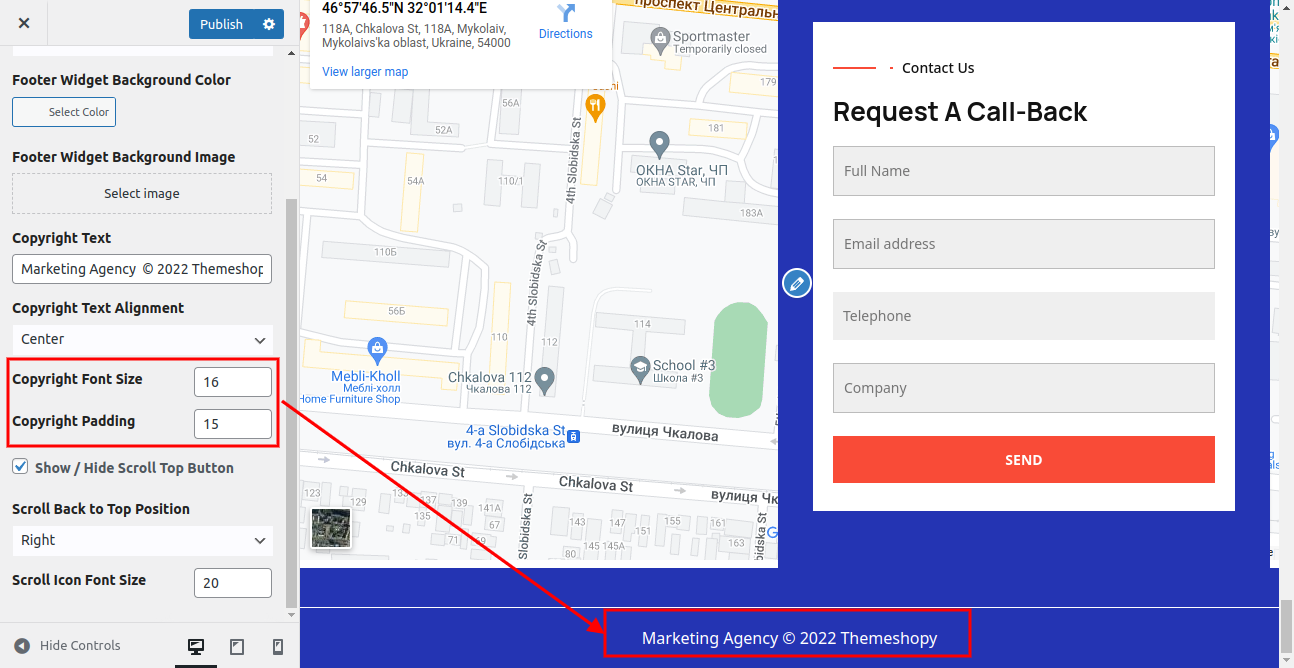
Your WordPress theme has now been installed and activated after clicking the activate button. Depending on the theme, it could introduce other settings that you'll have to adjust either using the theme customizer or through a different options panel.

Theme Installation Via FTP

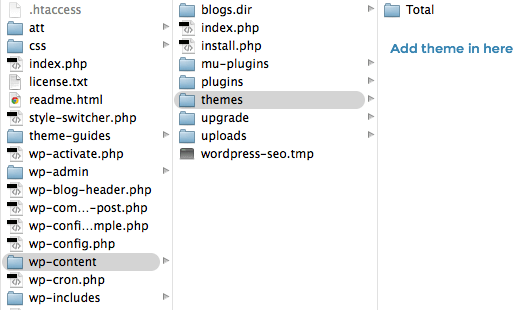
Connect to your host using FTP after installing and configuring your FTP application. You must navigate to the (/wp-content/themes/) route. Simply upload your themme's folder there once you've arrived.

Keep in mind that before utilising FTP to upload a theme, the folders must be unzipped. Once the theme has been uploaded, you must into your admin area and click onAppearance >> Themes.

The theme that you uploaded ought to be listed there. You've installed and activated your WordPress theme after placing your mouse over it and clicking the activate button.

How to set up homepage

The index page with the most recent post will be visible when you access your site after activating the theme. You must now configure the home page design such that it displays the entire demo area on your front page.


Header Logo

Setup Header Logo

In order to continue, Header Logo, follow the below steps

Go to Appearance >> Customize >> Site Identity

Here, you may choose the theme's logo and its size.

Here, you can enter your website's name and its tagline.

Click on the checkbox for the theme to reveal or hide the site title and slogan.

Here, you may choose the site title's size and the theme's slogan.

Slider Settings

Setup Slider Section

Follow the steps listed below to set up the slider.

1. Make a new page, give it the title you want to appear on the slide, and then specify the featured image, title, and text for it. For additional slides, repeat this process.


Go to Appearance >> Customize >> Themes Settings >> Slider Settings


You can setup a slider in this fashion.


Setup About Us Section

Follow the steps below to set up the Contact Detail section.

Go to Appearance >> Customize >> Theme Settings >> About Us

This is how your about us page will appear.


You can set up a "about us" section in this way.


Our Skills Section

Setup Our Skills Section

Follow the steps below to set up our skills section.

Go to Appearance >> Customize >> Theme Settings >> Our Skills


This is how your section on Our Skills will appear.


You can put up the Our Skills section in this fashion.


Our Services Section

Setup Our Services Section

Follow the steps below to set up our services section.

Go to Appearance >> Customize >> Theme Settings >> Our Services

Your Our services section will look like this.


You can put up the Our Services section in this fashion.


Banner Section

Setup Our Banner Section

Follow the instructions below to set up our banner section.

Go to Appearance >> Customize >> Theme Settings >> Our Banner

This is how your Our Banner section will appear.


You can configure Our Banner section in this fashion.


Projects Section

Setup Our Projects Section

Follow the steps below to set up our projects section.

Go to Appearance >> Customize >> Theme Settings >> Our Projects

Your our projects section will look like this.


You can configure our projects section in this way.


Support Section

Setup Our Support Section

Follow the steps below to set up our projects section.

Go to Appearance >> Customize >> Theme Settings >> Our Support

This is how you'll see our help section.


You can set up our support section in this way.


Best services Section

Setup Best services Section

The actions listed below should be followed to build up the best services section.

Go to Appearance >> Customize >> Theme Settings >>Best Services

This is how your finest services section will seem.


You can set up a best services section in this way.


Our Brand Section

Setup Brand Section

Follow the steps below to set up the brand section.

Go to Appearance >> Customize >> Theme Settings >>Our Brand

This is how your best services section will seem.


You can set up our brand section in this way.


Skills Showcase

Setup Skill Showcase Section

The steps listed below should be followed to set up a skill showcase.

Go to Appearance >> Customize >> Theme Settings >>Skills Showcase

This is how your skill-showcase section will appear.


You can set up a skill-showcase section in this way.


Upcoming Events

Setup Upcoming Events Section

The actions listed below should be followed to put up upcoming events.

Go to Appearance >> Customize >> Theme Settings >> Upcoming Events

It will appear in your section for upcoming events.


You can set up a section for upcoming events in this way.


Blog Page Settings

Setup Blog Page Settings

Follow the instructions below to configure the blog page settings.

You must first download the Posts Like Dislike plugin.

Go to Dashboard >> Plugins >> Add new

After installation is complete, a notice like this will appear. To use the plugin after installation, click the link that says "Activate Plugin."

Go to Appearance >> Customize >> Theme Settings >> Latest Pages


Contact and Map

Setup Contact & Map Settings

Observe the steps listed below to configure the Contact & Map Settings.

Go to Dashboard >> contact >> add new


Go to Appearance >> Customize >> Theme Settings >> Latest Pages


This is how your events and map section will appear.


Footer Text Section

Setup Footer Section

In order to continue, setup Footer section, follow the below steps

Go to Appearance >> Widgets


Page Templates and Sidebars


Page Templates

  • Default Template (the default page template with a right sidebar position)
  • Custom homepage (the custom home page template with a right sidebar position)
  • Page (Left Sidebar) (a page templates with left sidebar position)
  • Page (Right Sidebar) (a page template with right sidebar position)

Posts, Categories and Post Formats

Adding category

  1. Access your WordPress Administration Panel by logging in. (Dashboard).
  2. Click the Posts tab.
  3. With that done, click Categories for blog posts.
  4. Your new category's name should be typed in.
  5. After that, click the Add New Category button.Click the Publish button.

Creating a Blog post


  1. Access your WordPress Administration Panel by logging in. (Dashboard).
  2. Click the Posts tab.
  3. Click the Add New tab.
  4. Enter the text for your post. Please click the following link for further details on adding posts. http://codex.wordpress.org/Posts_Add_New_SubPanel.

Custom Widgets

Custom Widgets

For creating footer section,

Go to Dashboard >> Appearences >> widgets